Step 1: Import MongoDB public GPG key
The Ubuntu package management tool (i.e. dpkg and apt) ensure package consistency and authenticity by requiring that distributors sign packages with GPG keyssudo apt-key adv --keyserver hkp://keyserver.ubuntu.com:80 --recv 7F0CEB10

Step 2: Create mongodb source list file
echo 'deb http://downloads-distro.mongodb.org/repo/ubuntu-upstart dist 10gen' | sudo tee /etc/apt/sources.list.d/mongodb.list

Step3: Reload your repository
sudo apt-get update
Step 4: Install mongodb packages
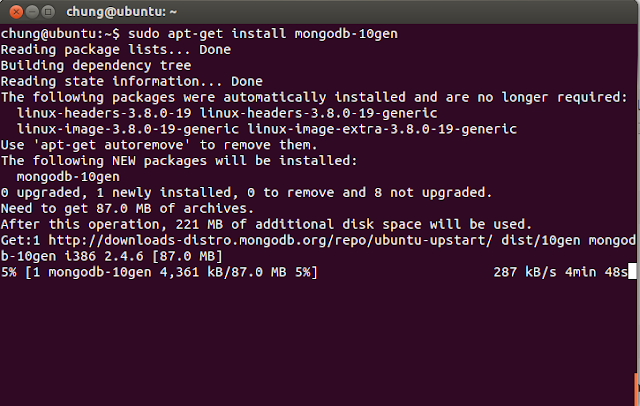
sudo apt-get install mongodb-10gen
For lastest version of MongoDB
During installing MongoDB, you can see that it creates new account named mongodb and mongodb group in the system to use mongoDB instance. So If you change the user that runs the MongoDB process, you will need to modify the access control rights to the /var/lib/mongodband /var/log/mongodb directories.

Step 5: Test new MongoDb
- Let's try to Start, Stop and Restart MongoDB

- You can see in the image above, after installation process is finished, it's start mongoDb automatically. If not, you should use the command : sudo service mongodb start to start it up.
We also have the command: sudo service mongodb stop and sudo service mongodb restart to stop and start it.
Testing mogodb on mongo shell
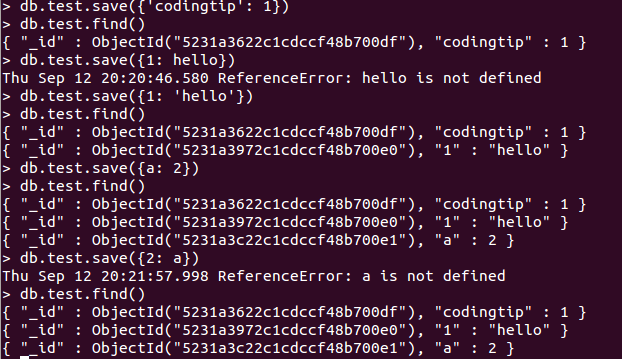
- To ensure mongodb works well, try some basic command to save new data and find them on mongo shell.- To use mongodb on mongo shell, just type : mongo on terminal.
+ To add new data into mongodb try : db.test.save ({codingtip : 1})
+ To see all data in database , try : db.test.find()
with db.test is Test database which is auto created by mongodb in installations